I have been doing markets for only three years, but have been through about three times as many display schemes.
Here is a rundown of the various schemes, their successes and failures: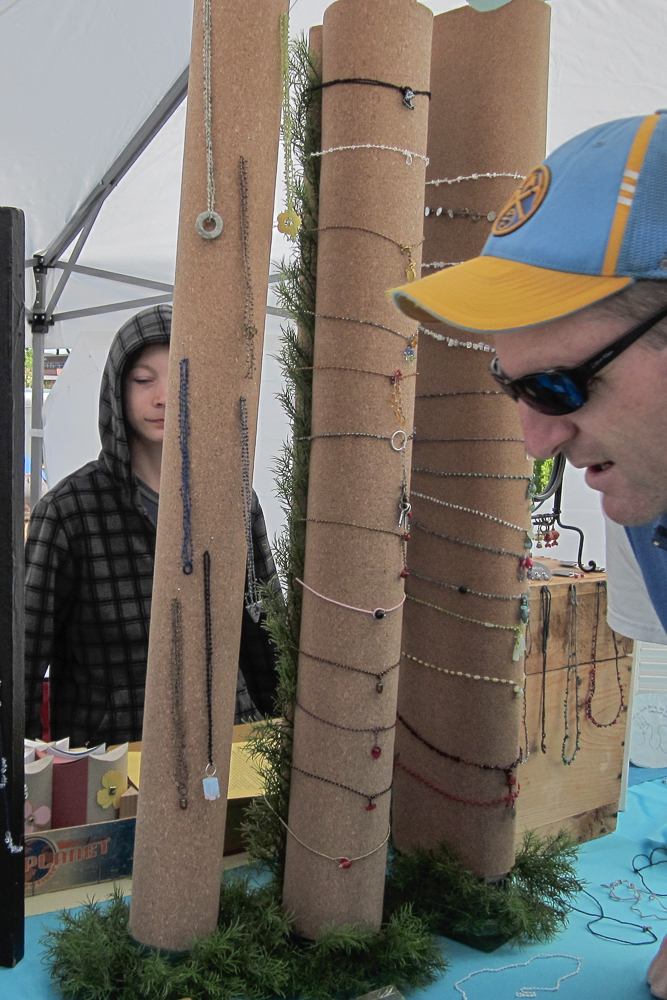
#1 tubes
The idea was to have simple, large PVC pipes covered with cork that I could pin my necklaces onto. The reality: they were hard to store, they were heavy, they fell over, they didn’t pin very well, it was difficult to put jewelry on and off, and they never looked as chic and elegant as I had envisioned. They were quickly abandoned with the one for bracelets being the most successful.
#2 shutters
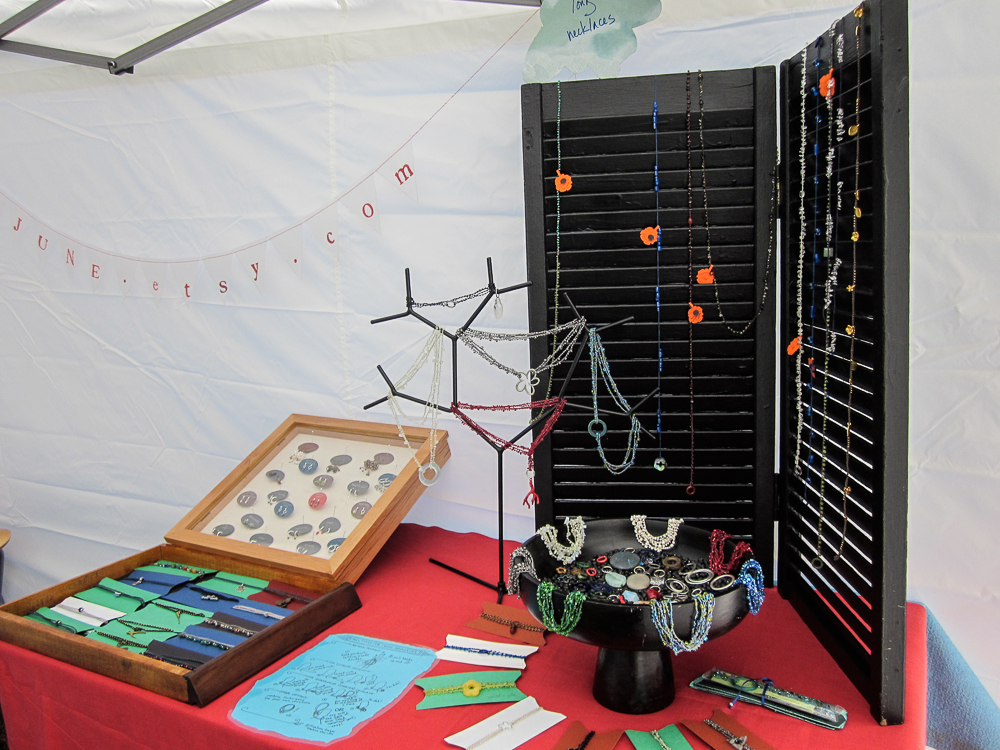
Portable, sturdy, foldable, they have lots of little slats to display necklaces. Worked okay, and I could even sort of store the necklaces on the shutters, but they are a little too funky and heavy in my opinion. The final straw: have you every tried to repaint shutters? Nightmare.
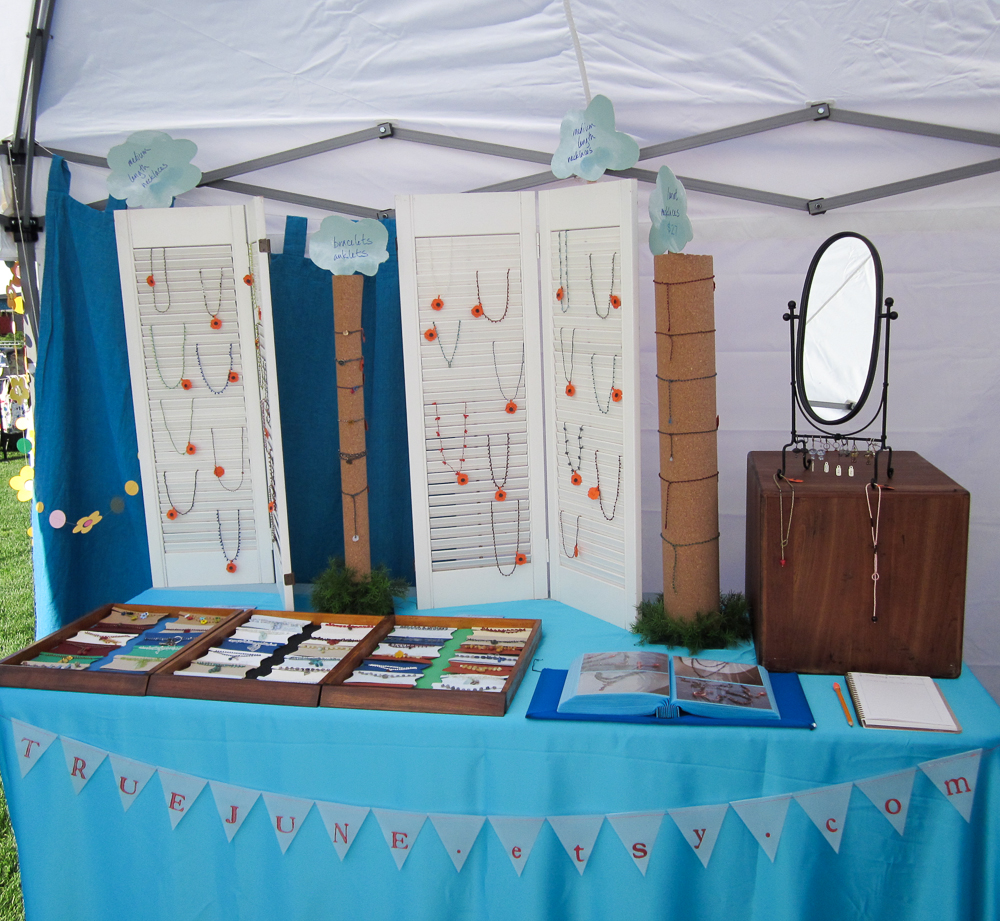
#3 trays
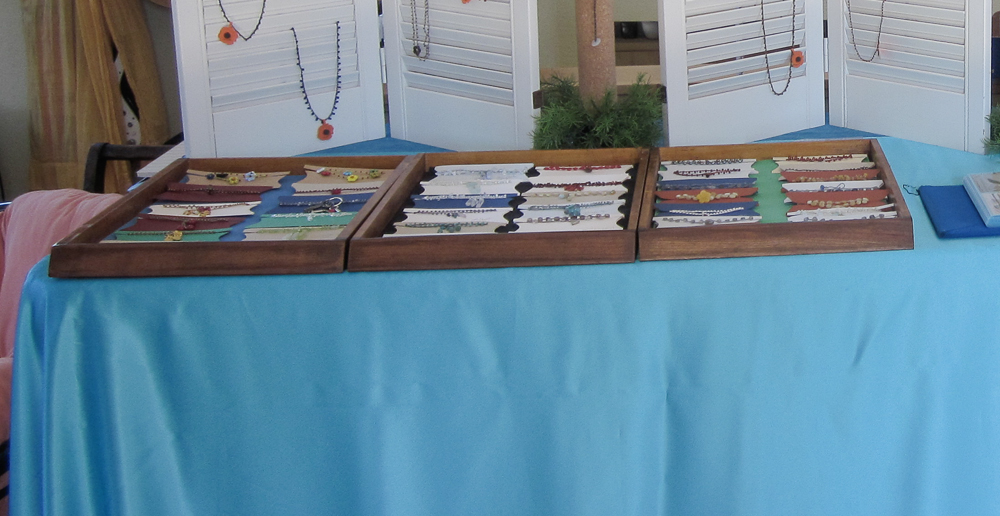
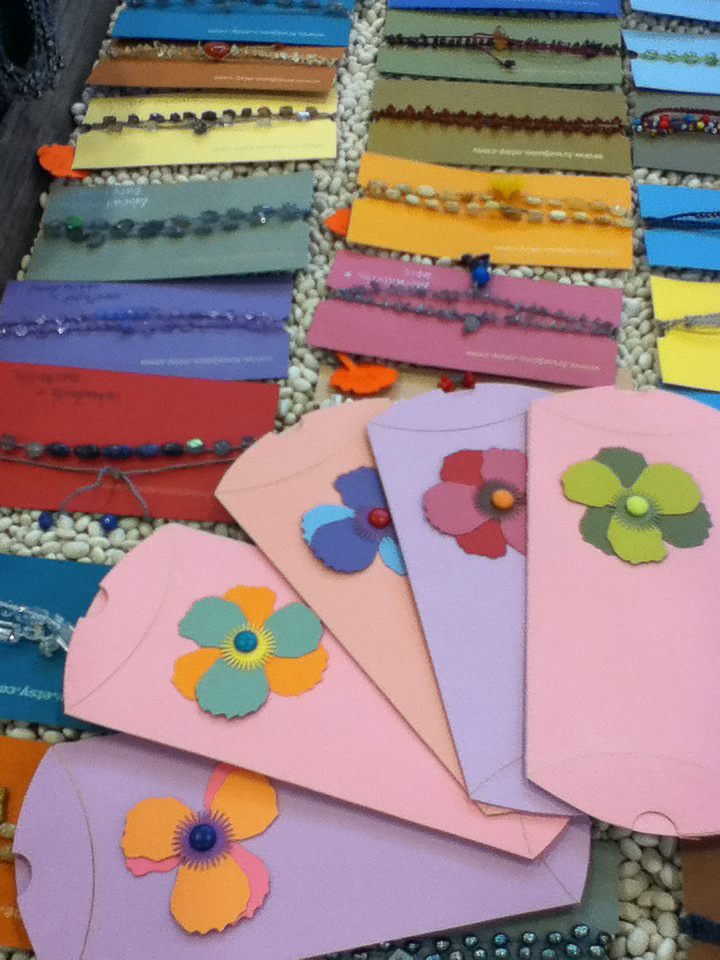 In this incarnation I could store my necklaces on cards and display them on trays. This worked pretty well and it was very convenient to have my necklaces both stored and displayed in the same way—no transferring or re-doing—but the trays were heavy and people thought the items on the cards were bracelets. Kids loved playing in the beans. Also, I think the small, colorful cards gave people the impression the products were cheap, like postcards or candy.
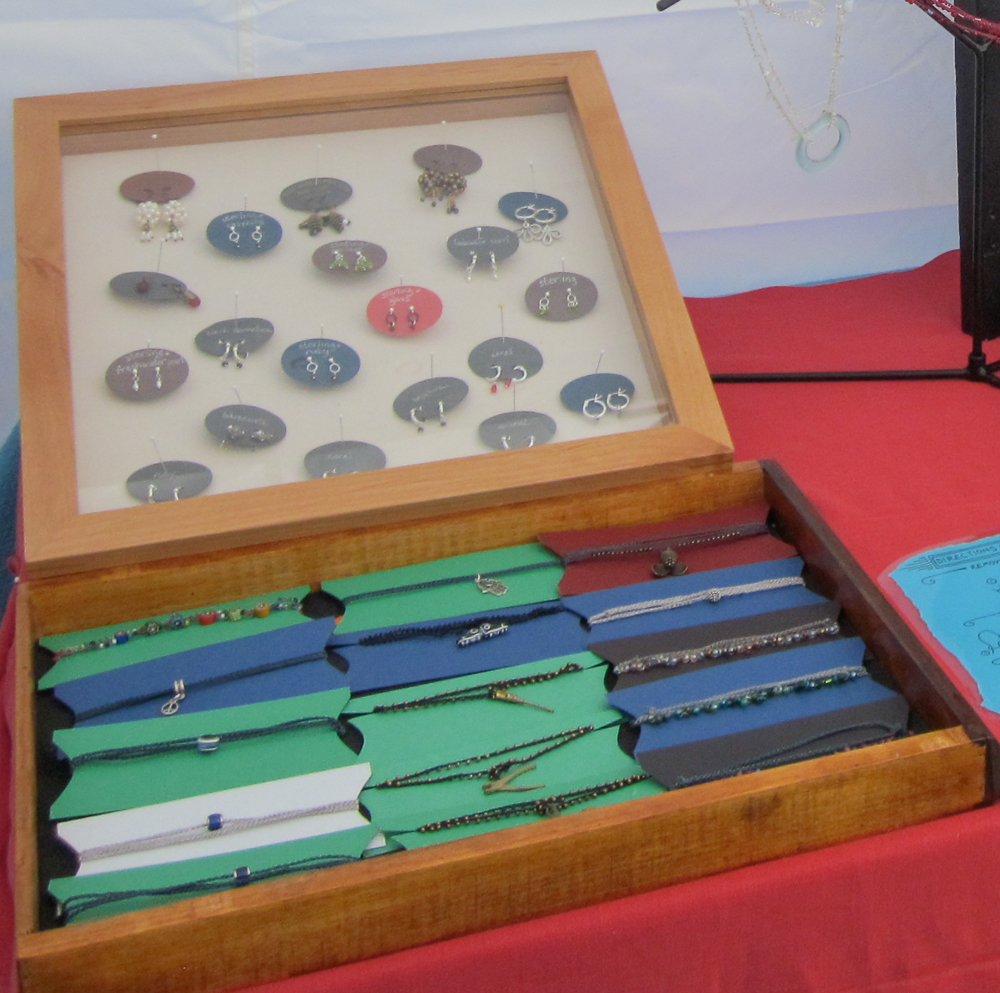
#4 shadowboxes
Shadowboxes (above) worked pretty well for earrings, but were heavy, fragile, and expensive. When the glass broke, I just did without.
#5 busts
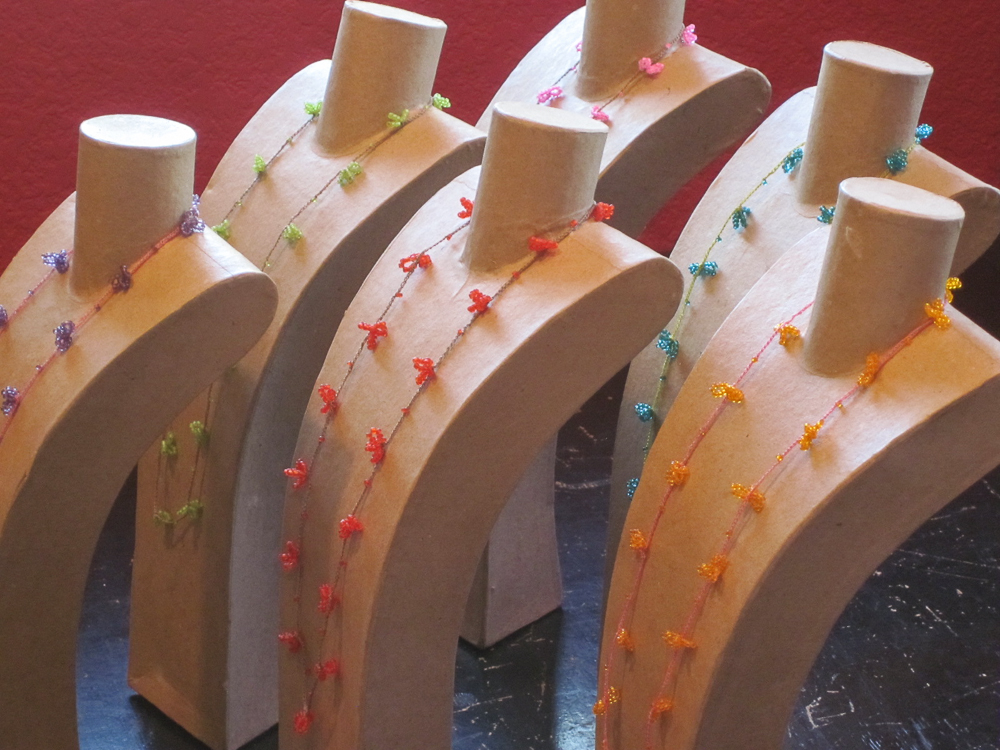
Cardboard and paper maché busts showed that the necklaces were necklaces. I added weight to the bottom of the busts and transported dozens of them in a large, bulky bucket.
They worked great, but I had to set each one up individually and I could not store my jewelry on them. One necklace per bust was not an efficient use of space—or time.
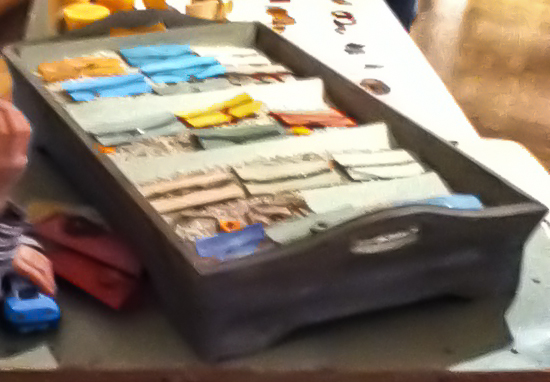
#6 shoe trays
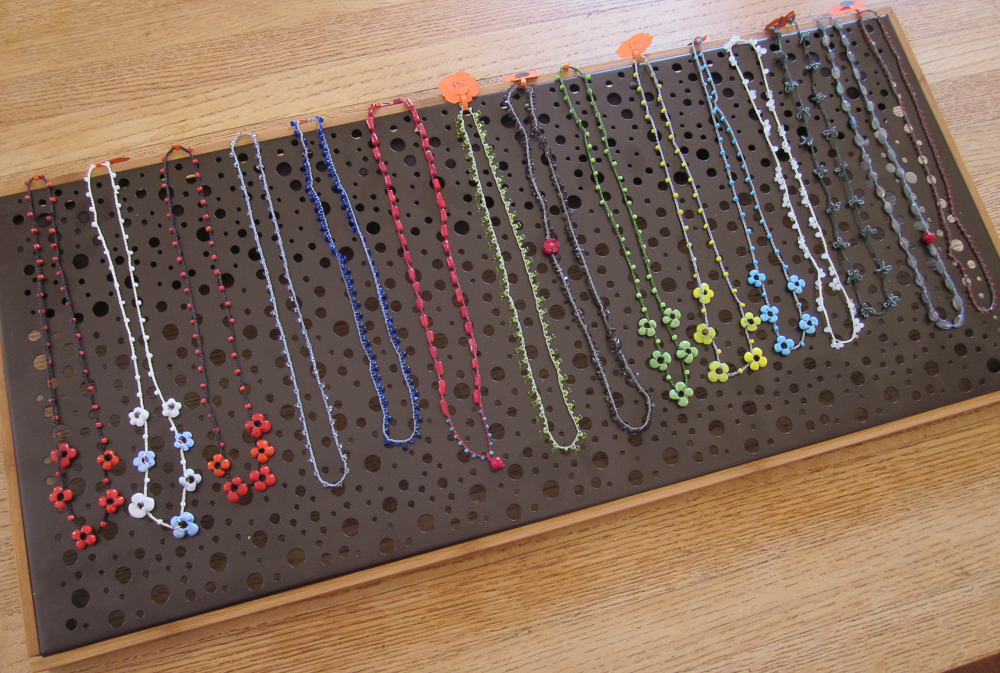
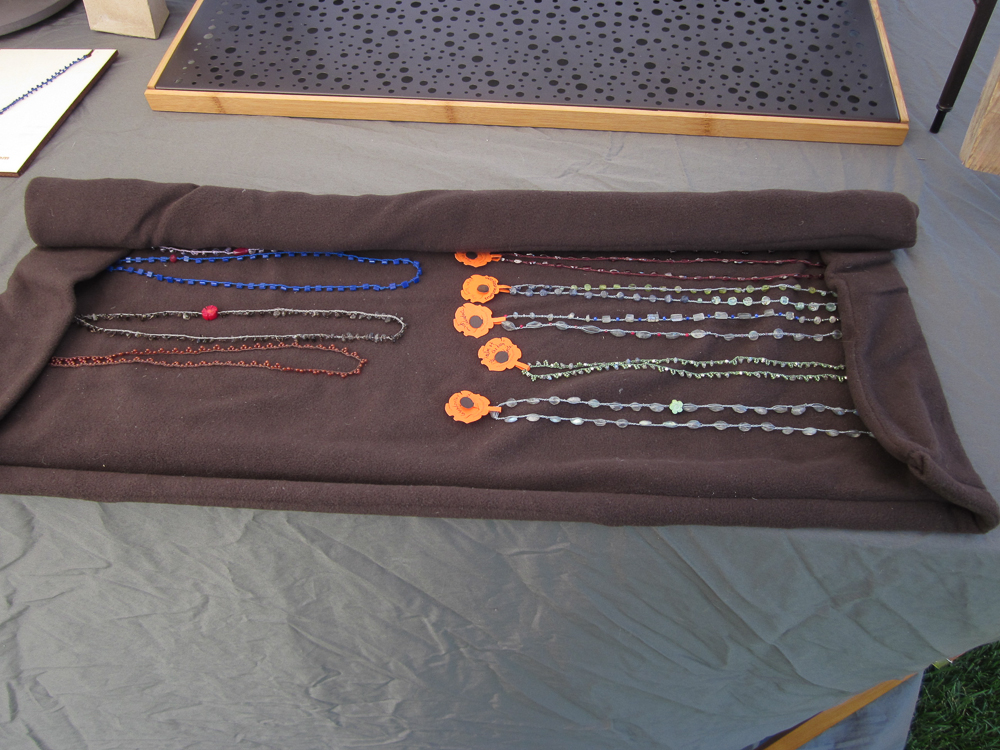
I finally found some trays made for shoes (14″ x 24″) of powder coated steel and framed with bamboo. These were portable, sturdy, and lightweight and showed my jewelry well. I made jewelry rolls to fit inside the frames and stored the necklaces that way. The biggest drawback was that I had to lay each necklace out every time and the necklaces were constantly getting messed up and would often slide and blow around on the trays.
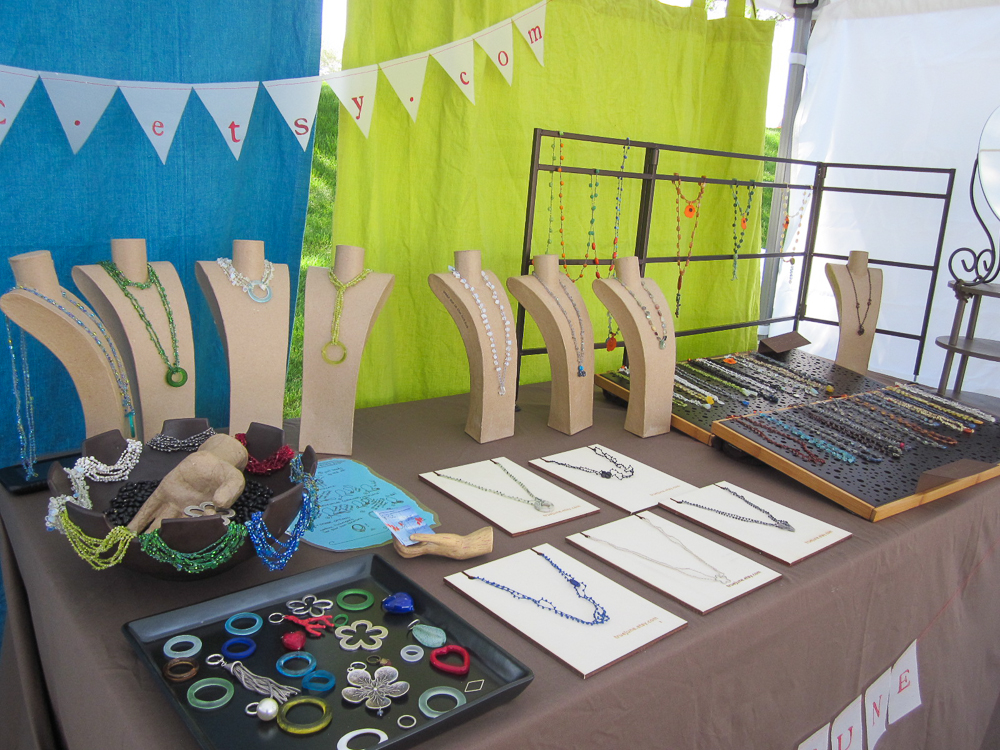
#7 light window frames

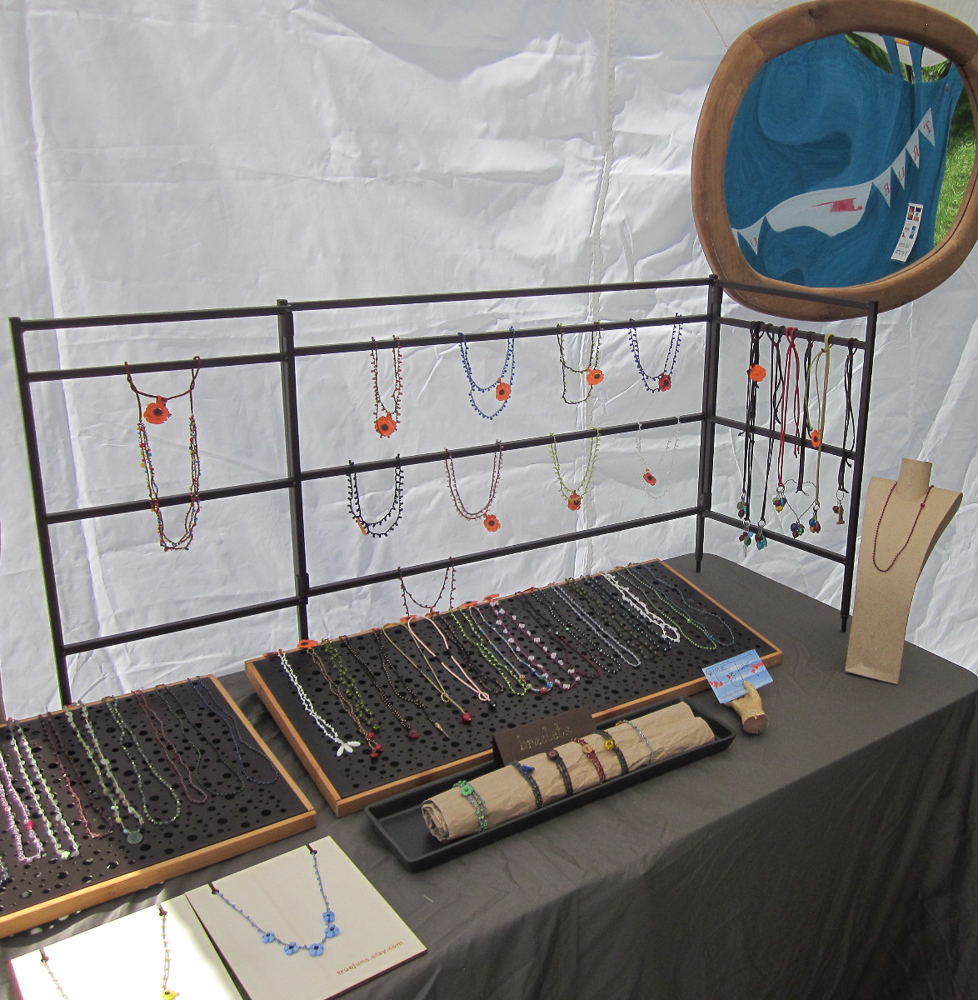
These were a huge improvement over the shutters and I could drape my larger styles over these portable, light-weight, adaptable frames that could either hang or stack.
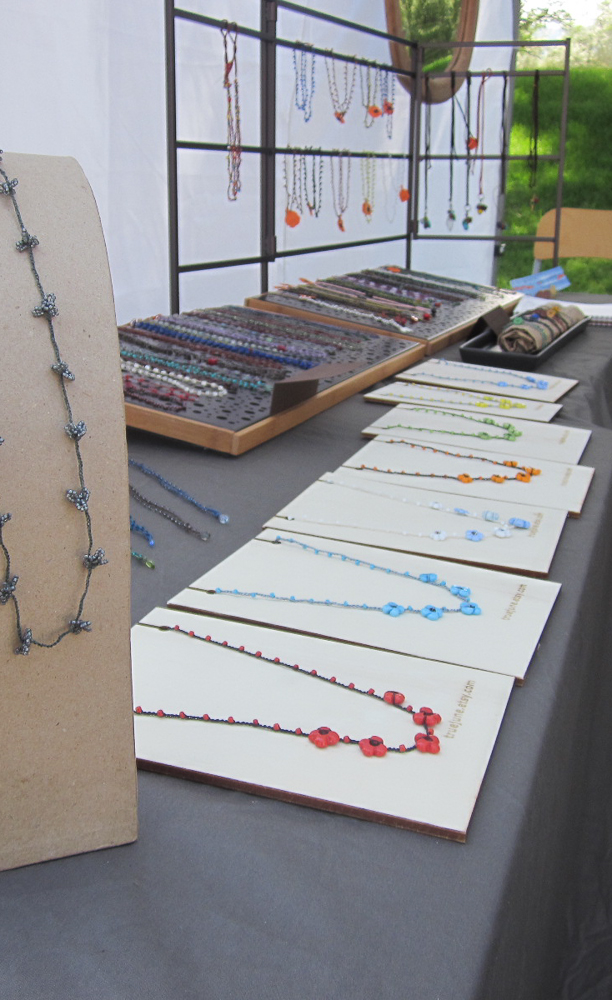
#8 display boards
Like the busts, the wooden display boards showed off each individual necklace on a small, flat rectangle. The boards were easier to store and transport than the busts, but had the same problem of having to be set up individually, one at a time.
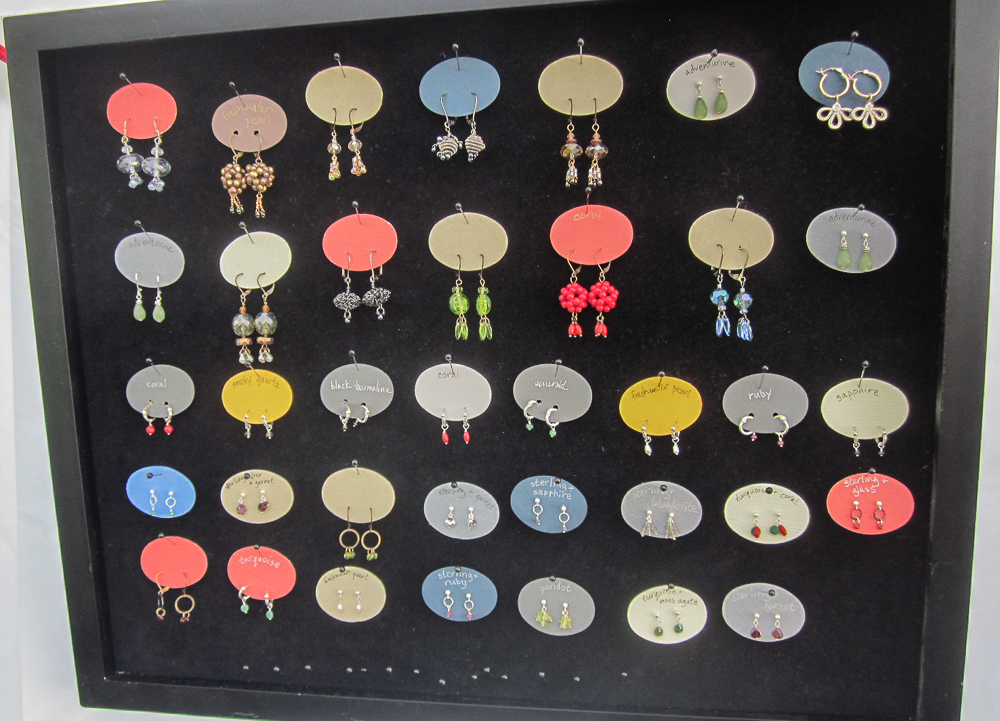
#9 window frame

I attached postcard clips to a window frame and this has proved to be a great way to display earrings. Each pair is on a card that clips to the frame and can easily be removed and replaced by me or the customer. The frame can either be hung from the tent or put on an easel.
Leave a Reply